
As an Amazon Associate I earn from qualifying purchases.
Sea moss is one of those things people hear about everywhere before they really know what it is. Someone mentions it in a smoothie.
A supplement ad pops up. A skincare reel calls it a superfood. It all gets grouped under “healthy seaweed” and left at that.
Sea moss, also called Irish moss, is a red algae that grows in the ocean, mostly along Atlantic and Caribbean coastlines.
It doesn’t grow in soil. It pulls what it needs straight from seawater, which is why it’s often associated with minerals like iodine, magnesium, and iron.
Sea moss usually comes in one of three forms. Gel receives the most attention but spoils quickly and requires refrigeration. Capsules are easy but limiting.
Powder sits in the middle. It lasts longer, requires very little preparation, and can be incorporated into food, sea moss smoothies, or skincare when it makes sense.
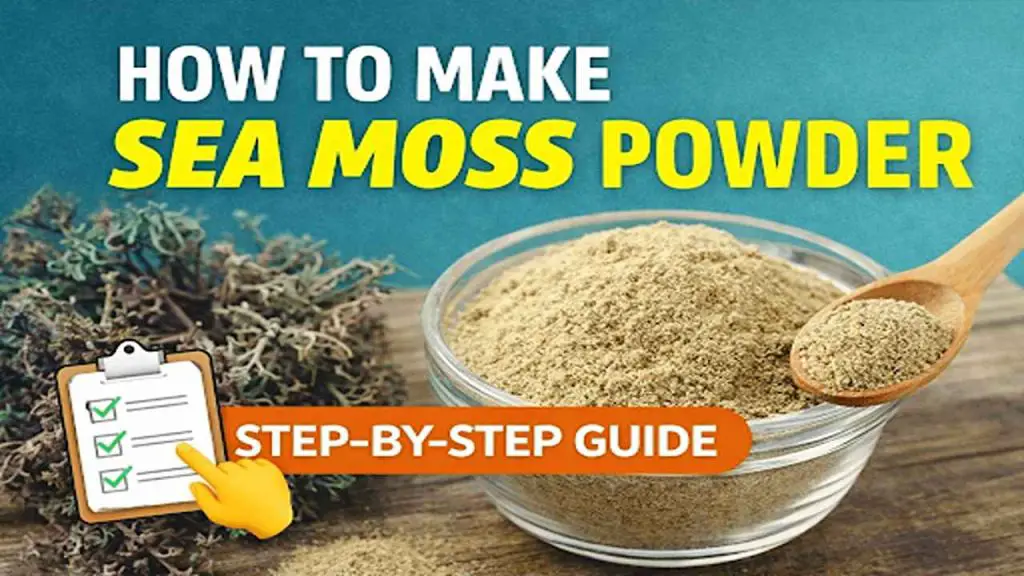
1. Preparing to Make Sea Moss Powder
Making sea moss powder is simple, but this is where most of the outcome is decided. If the powder feels off later, it usually comes back to what you started with and how clean things were.
1.1 Choosing the Right Type of Sea Moss
Sea moss is best bought whole and dried. Pre-ground versions don’t give you much control.
Natural colors vary. Golden, purple, and dark brown are common. A light ocean smell is normal. Sea moss that looks very white, chalky, or dusty is usually heavily processed.
Golden sea moss is the most common and easiest to work with. Purple sea moss has a stronger taste. Irish moss, a red algae, is often used for powder when fully dried.
If it looks overly uniform or snaps apart easily, most people skip it.
1.2 Gathering Necessary Equipment
You don’t need much. A blender or grinder that can handle dried seaweed, a bowl for rinsing, and a strainer or cloth are enough. Some people use a coffee grinder at the end for a finer texture.
Clean tools matter here.
1.3 Assembling Required Ingredients
There isn’t a long list. Dried sea moss and clean water.
Once that’s ready, the next step becomes more important than people expect: cleaning and drying it properly.
2. Cleaning and Drying Sea Moss

This step decides whether the powder turns out smooth or ends up tasting off.
Sea moss comes straight from the ocean, so cleaning and drying it properly matters more than anything you do later.
2.1 Proper Cleaning Techniques
Dried sea moss usually has sand, salt, and small bits of debris stuck to it. Rinsing once is rarely enough.
Start by breaking the pieces apart and rinsing them under running water. Then soak the sea moss in a bowl of clean water.
As it sits, grit settles at the bottom, and loose particles float away.
Most people change the water once or twice until it looks clear. The sea moss should feel clean but not slimy. If it still smells strongly of salt or grit, it needs more rinsing.
2.2 Effective Drying Methods
Drying needs patience. After cleaning, spread the sea moss out in a single layer. Air drying works well if the space is dry and well-ventilated. Some people use a fan nearby to keep air moving.
In humid climates, drying takes longer. A dehydrator on low heat can help, but overheating changes texture and color.
Direct sunlight dries faster, but can make the sea moss brittle if left too long. The goal is dry, not cooked.
2.3 Tips for Ensuring Sea Moss is Fully Dried
Fully dried sea moss snaps cleanly when bent. It shouldn’t feel cool or flexible in the middle.
If pieces still bend or feel soft, they aren’t ready to grind. Grinding damp sea moss usually leads to clumping and uneven powder.
Most people rush this part once. After that, they don’t rush it again.
Once the sea moss is completely dry, grinding becomes straightforward, and the texture is much easier to control.
3. Grinding Sea Moss into Powder
Once the sea moss is fully dry, turning it into powder is quick. This part is less about technique and more about using the right tool and stopping at the right time.
3.1 Selecting the Appropriate Grinder
Sea moss is tough when dried, so the grinder matters.
Most people use:
- A high-speed blender for larger batches
- A coffee or spice grinder for smaller amounts and finer texture
Basic food processors usually struggle with dried seaweed. A stronger grinder gives more control and a more even sea moss powder.
3.2 Step-by-Step Grinding Process
Start with small batches. Overfilling makes the powder uneven.
Add the dried sea moss to the grinder and pulse instead of running it continuously. This helps break it down without overheating.
Shake the grinder between pulses so larger pieces move back toward the blades.
If needed, stop, check the texture, and grind again.
3.3 Achieving the Desired Powder Consistency
Sea moss powder should feel dry and fine, not sandy or clumpy.
If larger bits remain, sift them out and grind again. Some people prefer a slightly coarse powder for smoothies, while others grind until it’s almost flour-like for skincare or capsules.
Once you’re happy with the texture, the last thing that matters is how you store it. Storage decides how long the powder stays fresh and usable.
4. Storing Sea Moss Powder
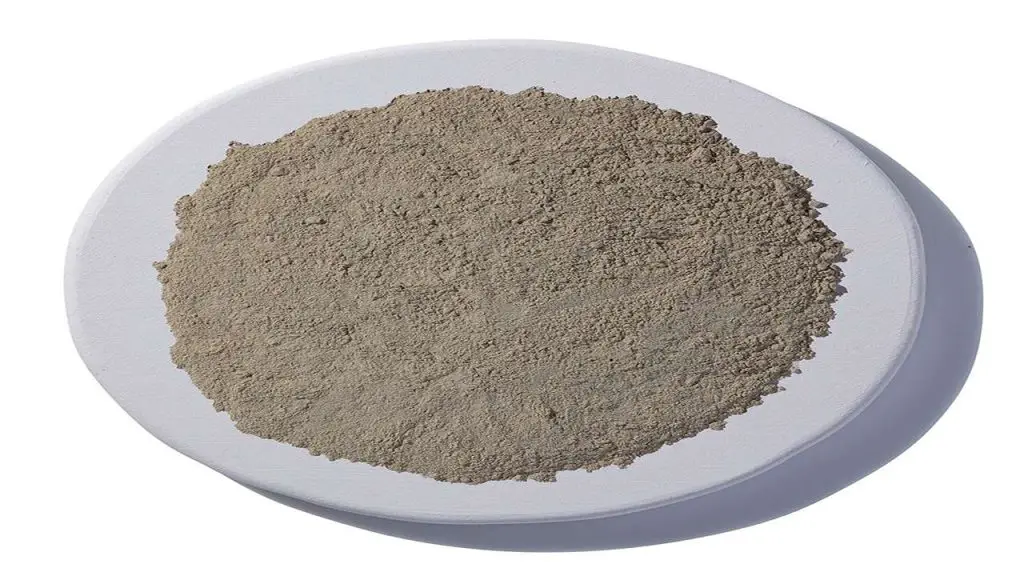
Once the sea moss is ground, storage becomes the key factor in maintaining freshness. A good powder can lose quality quickly if it’s exposed to moisture, air, or heat.
4.1 Best Storage Practices
Sea moss powder does best in a cool, dry place.
Most people store it in:
- An airtight glass jar or mason jar
- A reusable airtight container kept away from light
Plastic containers are effective in the short term, but glass helps keep moisture and odors out. Always make sure the lid is fully sealed after each use.
4.2 Shelf Life Considerations
When stored properly, sea moss powder can last several months without issue.
Heat, humidity, and frequent opening shorten shelf life. Refrigeration isn’t necessary for powder, but some people choose it in very humid climates.
If the powder starts to clump, smell musty, or change color, it’s usually a sign that moisture got in.
4.3 Avoiding Contamination
Contamination usually happens during use, not storage.
Use a dry spoon every time. Don’t scoop with wet hands. Keep the container closed when not in use.
Small habits here make a big difference.
Once stored correctly, the powder stays easy to work with. The next step is deciding how to actually use it in daily routines, from food to skincare.
5. Using Sea Moss Powder
Sea moss powder is popular because it’s flexible. Once it’s made and stored properly, it’s easy to add to everyday routines without much effort.
5.1 Incorporating Sea Moss Powder into Cooking
Most people start with food.
Sea moss powder blends well with:
- Smoothies and protein shakes
- Oatmeal or porridge
- Soups, stews, and sauces are natural thickeners
Because it’s concentrated, a small amount goes a long way. Many people mix it in with other ingredients so the taste stays neutral while still getting the minerals and nutrients.
5.2 DIY Skincare Recipes with Sea Moss Powder
Sea moss powder is also used in simple skincare.
Some common uses include:
- Mixing with water or aloe vera for a face mask
- Adding to homemade moisturizers or body masks
The powder absorbs water and forms a light gel, which is why it’s often used for hydration-focused skincare. Patch testing first is a good idea, especially for sensitive skin.
5.3 Innovative Daily Uses
Beyond food and skincare, people get creative.
Sea moss powder shows up in:
- Vegetarian or vegan thickening recipes
- DIY capsules for controlled intake
- Face masks combined with clay or honey
How it’s used usually depends on routine, not rules. The next thing to consider is safety, especially around iodine content and how much is too much.
6. Safety and Considerations

Sea moss powder is easy to use, but it’s still something to be mindful of. A little awareness here helps avoid problems later.
6.1 Understanding Iodine Content
Sea moss naturally contains iodine because it grows in ocean water. Iodine supports thyroid function, but more isn’t always better.
Small amounts are usually fine for most people. Taking large amounts daily, especially alongside other iodine sources, can cause an imbalance.
This is why moderation matters more than frequency.
6.2 Risks of Overconsumption
Using too much sea moss powder doesn’t increase benefits. It usually does the opposite.
Common issues linked to overuse include:
- Digestive discomfort
- Headaches or fatigue
- Thyroid-related symptoms in sensitive individuals
Sticking to small servings and spacing intake throughout the week is how most people avoid these problems.
6.3 Consulting with Health Professionals
If you have thyroid conditions, are pregnant, or take medication, it’s worth checking in with a healthcare professional before using sea moss regularly.
Everyone reacts differently, and personalized advice matters more than general recommendations.
Once safety is understood, sea moss powder becomes easier to use confidently and responsibly.
Conclusion
Making sea moss powder at home isn’t complicated, but it does require patience.
Starting with good-quality dried sea moss, cleaning it properly, letting it dry fully, and storing it the right way makes a noticeable difference in how the powder turns out.
Once it’s done, sea moss powder becomes one of the easiest ways to use sea moss, whether it’s added to food, smoothies, or simple skincare routines.
Keeping portions reasonable and storage clean is what helps it stay useful over time.
FAQs:
Sea moss powder is prepared by cleaning dried sea moss thoroughly, drying it completely, and grinding it into a fine powder using a blender or grinder. Making sure it’s fully dry before grinding helps prevent clumping.
Sea moss can be air-dried in a well-ventilated space or dried using a dehydrator on low heat. The sea moss should snap cleanly when bent, not feel flexible or cool in the middle.
Sea moss powder is effective when used in small, consistent amounts. It provides minerals and nutrients found in sea moss, but results depend on quality, portion size, and individual needs.
Most people mix sea moss powder into smoothies, oatmeal, or soups. Others use it in skincare or DIY capsules. The best method is one that fits easily into your routine without overuse.
Amazon and the Amazon logo are trademarks of Amazon.com, Inc, or its affiliates