
As an Amazon Associate I earn from qualifying purchases.
Sea moss is packed with good stuff, but eating it straight is not for everyone. That texture can be… weird. Some folks toss it in smoothies, others just can’t deal.
So, sea moss gummies. They’re easy to take. You pop a couple, done. No mess. No weird taste lingering in your mouth.
I started making them at home after buying a jar online that cost way too much. Turns out, it’s not hard.
You just need sea moss gel, a few simple ingredients, and a mold. The kind you’d use for gummy bears or whatever.
I’ll walk you through it. Nothing fancy. Just what works.
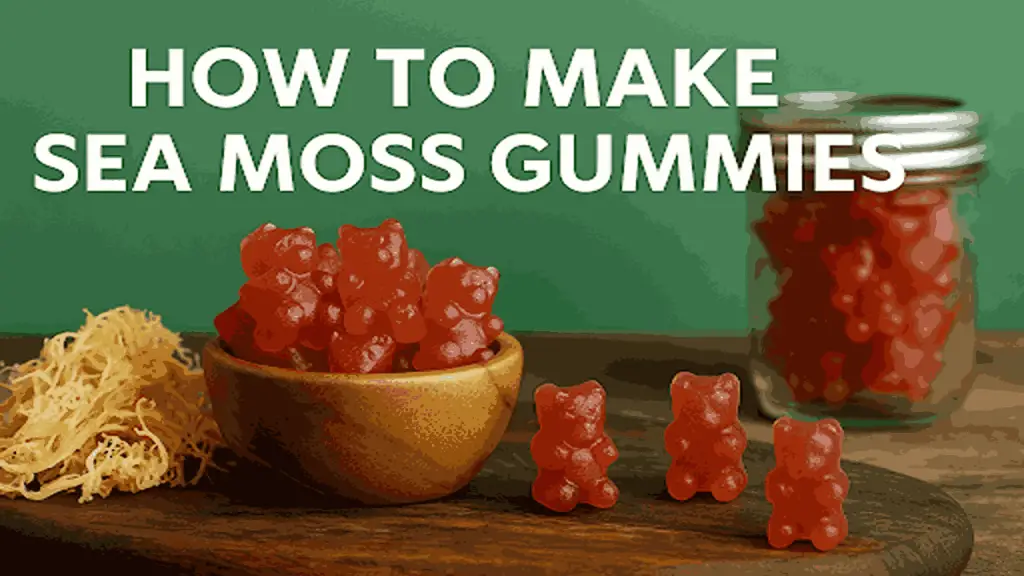
Understanding Sea Moss and Its Benefit
Sea moss is well known for being packed with essential minerals like potassium, magnesium, and iodine that may support different areas of health, such as digestion, immunity, and circulation.
A. Promoting Gut Health
People turn to sea moss as an aid for improving digestive health. Its natural fiber may help regulate and move things along more easily in your system; to enhance its effects further, some add bladderwrack flakes for additional benefits.
B. Boosting Immunity
Adding ingredients like elderberry or ginger while making sea moss gummies can help support seasonal immunity, along with the ease of consumption.
A small batch will last several weeks during cold and flu season to maintain consistency of dosage.
C. Support Heart Health
The small amounts of magnesium and potassium in sea moss have been linked with improved blood pressure and circulation, but should not replace medication or diet in terms of supporting cardiovascular wellbeing.
Flavored versions or switching entirely can also help avoid its strong taste for an easier experience. Let’s see how to prepare sea moss gel before making the gummies.
Preparing Sea Moss Gel
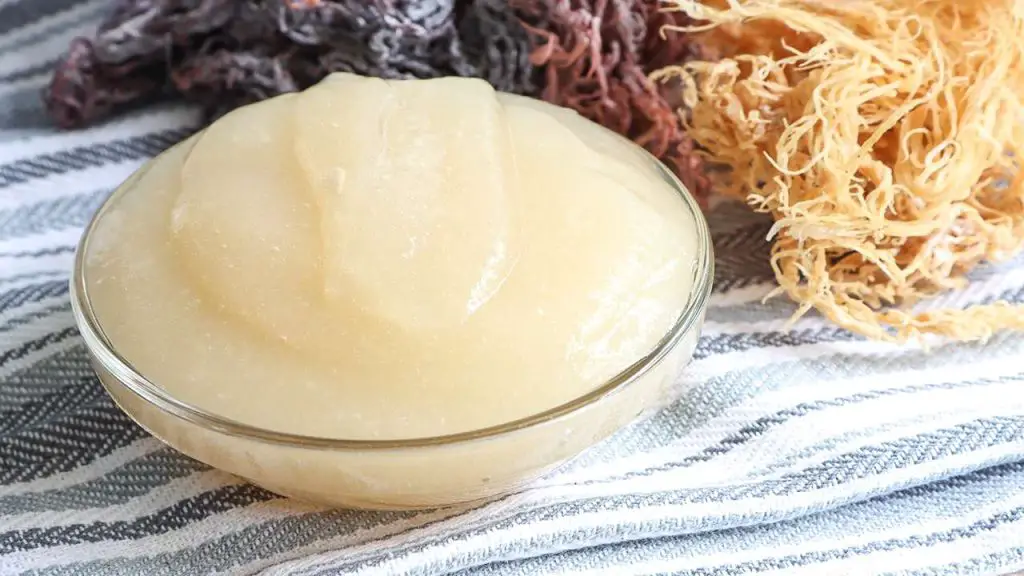
Before making Gummies, you’ll require converting dried sea moss to gel form.
While this can take some time and patience, when finished, you can keep it up to 2-3 weeks in the refrigerator!
A. Sourcing Sea Moss
When buying sea moss, make sure you choose a product with Cenalga Irish Organic Certified or similar labels since they are more likely to blend with more salted or darker types.
Small sellers or platforms like Amazon are often able to supply the items you require.
B. Cleaning and Soaking Sea Moss
Begin by rinsing and then soaking sea moss in cool water to wash away any dirt or dust particles. Repeat the process twice or three times based on its condition.
After cleaning, place the moss in a large bowl filled with alkaline water and allow it to sit for a minimum of 12 hours.
Over this period, it will increase in size while softening and turning almost transparent.
C. Blending into Gel
After soaking, transfer the sea moss into an immersion blender. Just the right amount of liquid (preferably the soaking water with some fresh alkaline water) to allow the process to flow smoothly.
Blend until it appears smooth, like a pudding-like texture.
The gel should be placed in an airtight mason jar and put in the refrigerator, and it will be the base for sea moss gummies.
After your gel has been made, the next step would be deciding on flavors and sweeteners that make the process easier and more enjoyable.
Choosing Flavor and Sweeteners
Sea moss does not have a distinctive flavor, but it’s a problem by itself. The most effective way to enhance the flavor is to add natural sweeteners and fruit-based ingredients.
This will help to disguise the flavor of moss and make the gummies convenient and tasty to consume regularly.
A. Natural Sweeteners Options
Make sure to use ingredients that will add flavor but don’t overpower the sea moss or alter the texture. Choose ingredients that are well-integrated with the heat since you’ll have to heat it.
Here’s a quick overview of sweeteners that are good choices:
| Sweetener | Flavor Profile | Best For |
| Maple syrup | Warm, rich, slightly woody | Earthy fruit blends |
| Honey (raw) | Floral, sweet | Immune-boosting mixes |
| Agave syrup | Mild, neutral | Light citrus-based gummies |
| Date syrup | Deep, molasses-like | Fall spice or chai blends |
B. Experimenting with Flavors
There’s no need for lots of flavorings; however, using the right flavors can make a significant impact.
If you’re using spices or herbs, you can add them in tiny quantities during cooking.
There are a few combinations you can try:
- Blueberry sea moss with a touch of lemon
- Ginger + cinnamon for a spiced version
- Elderberry ginger liquid for immunity-focused batches
- Mango + lime for tropical flavor
Avoid anything that is either too acidic or heavy, as it may alter the way the gel is set later on.
When your sweetener and flavor base are set, you can add any other ingredients that can provide health benefits or meet your particular requirements.
Adding Health-Boosting Ingredients
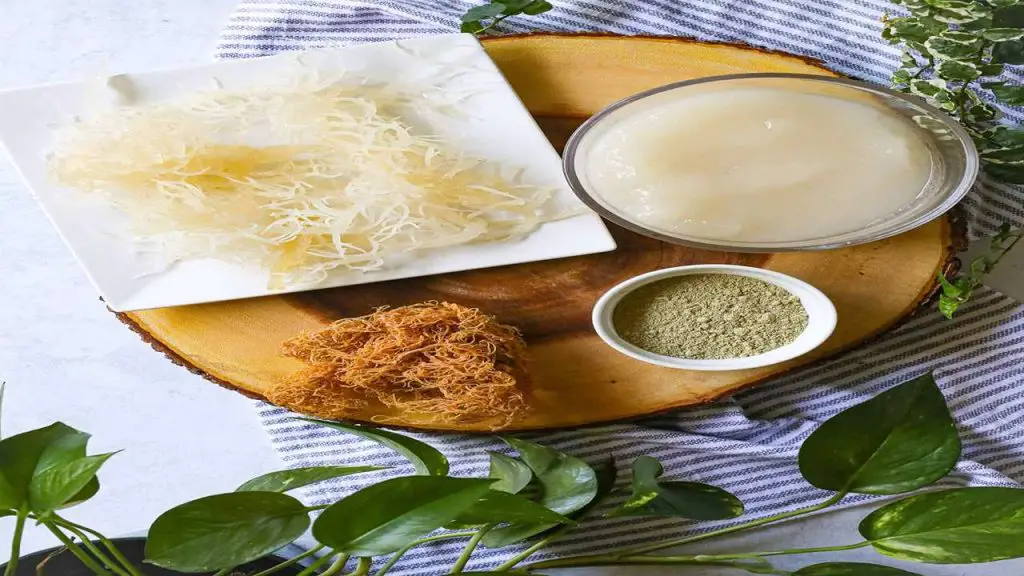
You can keep your sea moss gummies simple, or you can add ingredients that support immunity, digestion, or energy.
Just make sure whatever you add pairs well with medium heat and doesn’t affect the texture of the final mix.
A. Incorporating Elderberry
Elderberry is a popular addition to sea moss gummies, especially during flu season. It pairs well with berries, ginger, and lemon.
- Use elderberry syrup or elderberry ginger liquid for smoother blending.
- Add it during the cooking stage, not after the mixture has cooled.
- Stick to 1–2 tablespoons per batch, or follow label directions if using a concentrate.
B. Utilizing Ginger and Bladderwrack
Both ginger and bladderwrack flakes are common in sea moss blends. Ginger adds warmth, while bladderwrack is often used to support thyroid health and gut microbiome & function.
- Grate or juice fresh ginger, about 1 teaspoon per batch.
- Use bladderwrack flakes in small amounts (¼ tsp or less) to avoid bitterness.
- Add both while heating the gel mixture for best results.
C. Spicing with Cinnamon and Cayenne Pepper
For added kick and extra nutrients, try cinnamon or cayenne. These are optional but useful in immunity or metabolism-focused recipes.
- Use ground cinnamon for sweetness and warmth.
- A pinch of cayenne pepper goes a long way; don’t overdo it.
- Best added when using maple syrup or honey as a base.
Once you’ve added your flavor and health boosters, it’s time to set the texture using a plant-based gelling agent.
Setting Your Gummies
To get that chewy, gummy texture, you’ll need a gelling agent. Agar-agar powder is the best vegan-friendly option. It’s made from seaweed and works well with sea moss.
Using Agar-Agar as a Vegan Gelatin Substitute
- Use 1 tablespoon of agar-agar powder per 1 cup of liquid.
- Dissolve the powder in a small amount of cold water first, then stir it into your warm moss gel mixture.
- Cook on medium-high heat for about 1–2 minutes, stirring constantly until fully dissolved.
Avoid overcooking. Agar sets quickly once it cools, so you’ll need to move fast once it’s mixed.
With the base ready and gel agent added, the next step is pouring the mix into molds and letting it set.
Making the Gummies
Once your ingredients are prepped and your agar is mixed in, the final steps are quick. This is where everything comes together, so timing matters.
A. Mixing Ingredients
After the agar-agar powder has dissolved fully and the moss gel mixture is warm (not boiling), stir everything one last time.
Here’s a simple way to do it:
- Make sure your sweeteners, like maple syrup, are already in the mix.
- If you’re adding lemon juice, do it now, just a splash.
- The mixture should be smooth and pourable, not thick or chunky.
Keep the heat on low at this point. You don’t want to cook anything further; just keep it warm enough to pour.
B. Pouring into Molds
Have your molds ready before you start. If you’re using gummy bear cavities or fun shapes, lay them out on a tray so you can move them easily later.
- Use a dropper or spoon to pour the mixture into each mold. Work quickly, agar sets fast.
- Tap the mold tray gently to release any air bubbles.
- Let it sit at room temperature for about 30–45 minutes, or until the gummies firm up.
If your kitchen is warm, you can move the tray to the fridge once the gummies start to cool. Don’t put them in too early, or the texture might turn rubbery.
Once they’ve set, pop the gummies out and transfer them to storage, preferably something airtight and cold.
Ensuring Proper Storage
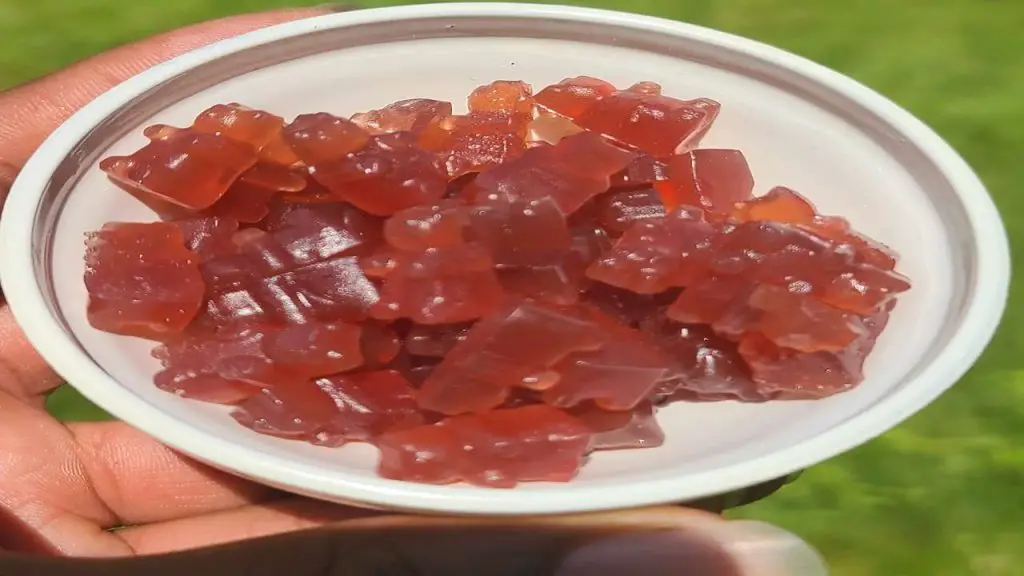
Sea moss gummies don’t last forever, especially when made without preservatives. Storing them right keeps them fresh, safe to eat, and easy to grab when you need them.
Ideal Storage Conditions
- Once your gummies are fully set, place them in an airtight mason jar or a sealed glass container.
- Keep them in the fridge. They’ll usually stay good for about 2–3 weeks.
- If you added ingredients like elderberry, ginger, or lemon juice, the shelf life might be a little shorter.
Don’t leave them out at room temperature too long. They’ll soften and may not hold their shape. If they ever start to smell sour or feel slimy, it’s best to toss them.
Now that your gummies are stored, make sure they work for your needs, especially if you have dietary restrictions or allergies.
Dietary Considerations and Allergen Information
Sea moss gummies are naturally vegan, gluten-free, and soy-free, but what you add to them can change that.
If you’re making these for others or following a specific diet, it’s worth double-checking your ingredients.
Addressing Common Dietary Restrictions
Here are a few things to keep in mind:
- Agar-agar powder is a plant-based gelatin substitute, so it’s safe for vegan or vegetarian diets.
- If you’re using maple syrup, make sure it’s pure and not a blend with additives.
- Some flavored syrups (like store-bought elderberry blends) may contain honey, not vegan.
- Avoid artificial coloring or processed fruit juice concentrates if you’re sticking to a clean or alkaline-based approach.
- Bladderwrack flakes may not be recommended for people with thyroid disorders; check with a professional if needed.
Always read labels. When in doubt, keep it simple with plain sea moss gel, lemon juice, and natural sweeteners.
Once you’ve handled any dietary needs, the last step is finding good-quality ingredients so you can make your next batch with confidence.
Finding Sea Moss
You don’t need anything fancy to make sea moss gummies, but it’s worth starting with quality sea moss.
Purchasing Online and In-Store
You can find dried sea moss at some health stores or Caribbean markets, but it’s often easier to buy it online. Just make sure it hasn’t been dyed, overly salted, or packed with sand.
Here are a few options people trust:
- Purple Irish Moss Wildcrafted by Lucia Naturals – has a deep natural color and sun-dried texture.
- Herbal Vineyards Wildcrafted Sea Moss – premium grade and comes in resealable packaging.
- Wixar Naturals Wildcrafted Irish Sea Moss – popular choice with good shelf life.
If you’re just starting, choose a brand that’s pale gold or light tan. Dark or overly brittle moss tends to be harder to clean and doesn’t blend as well.
Avoid pre-ground powders or overly processed blends. They’re harder to trace and often cost more for less quality.
Once you’ve got your ingredients, making your sea moss gummies becomes as simple as soaking, blending, and pouring, again and again.
Tips for Enjoying Sea Moss Gummies
You don’t need a schedule or a strict plan to enjoy sea moss gummies. Just take them consistently and store them correctly.
Here’s what usually works:
- Stick to 2–4 gummies a day. That’s enough to get the benefits without overdoing it.
- Take them with food if you’re sensitive to new sea moss supplements.
- Mix up flavors from time to time, try swapping in Blueberry Sea Moss or adding citrus to keep things interesting.
- Keep a batch ready in the fridge. They last 2–3 weeks in an airtight mason jar, so you can make a fresh set every month.
If you’re using them to support digestive health or immunity, stick with natural blends and avoid added sugar.
Conclusion
Once you get the hang of it, making sea moss gummies is pretty straightforward. You start with good-quality plain sea moss gel, warm it up, blend in your flavor and health boosters, set it with agar-agar, and pour it into molds. That’s it.
Whether you’re adding elderberry, bladderwrack flakes, or just keeping it simple with lemon and maple syrup, the entire process is flexible. You can adjust the texture, flavor, and strength to suit what works for your body and your taste.
If you store them right, they’ll last 2–3 weeks in the fridge. Make a fresh batch every few weeks, or experiment with flavors like Blueberry Sea Moss or Elderberry Ginger Infused Sea Moss Gel to keep things interesting.
FAQ’s:
Most people take 2–4 gummies per day. If you’re just starting, try one and see how you feel.
Not really. Agar-agar is what gives them their gummy texture. If you skip it, the mixture won’t set properly. Agar-agar powder is vegan and easy to find online.
Stored in an airtight mason jar, they’ll usually last 2–3 weeks. Always check for smell or texture changes before eating.
You can, but the texture may change once thawed. They’re best stored cold, not frozen.
Look for wildcrafted sea moss that hasn’t been dyed or heavily processed. Brands like Herbal Vineyards, Cenalga Irish Organic Certified, and Wixar Naturals are popular choices.
Yes, you can add things like elderberry syrup, ginger, or even bladderwrack flakes, just make sure they blend well with the moss gel mixture and won’t interfere with the setting process.
Amazon and the Amazon logo are trademarks of Amazon.com, Inc, or its affiliates